12-string guitar tuning looks intimidating until you realize it's just standard tuning with a shadow. Each of the six strings you already know gets a partner, and once you know which partners are octaves and which are unisons, the whole thing clicks.
This guide gives you the full pitch chart first, then a safe step-by-step method for tuning all twelve strings without snapping anything.
Quick CTA:
How 12-String Tuning Works
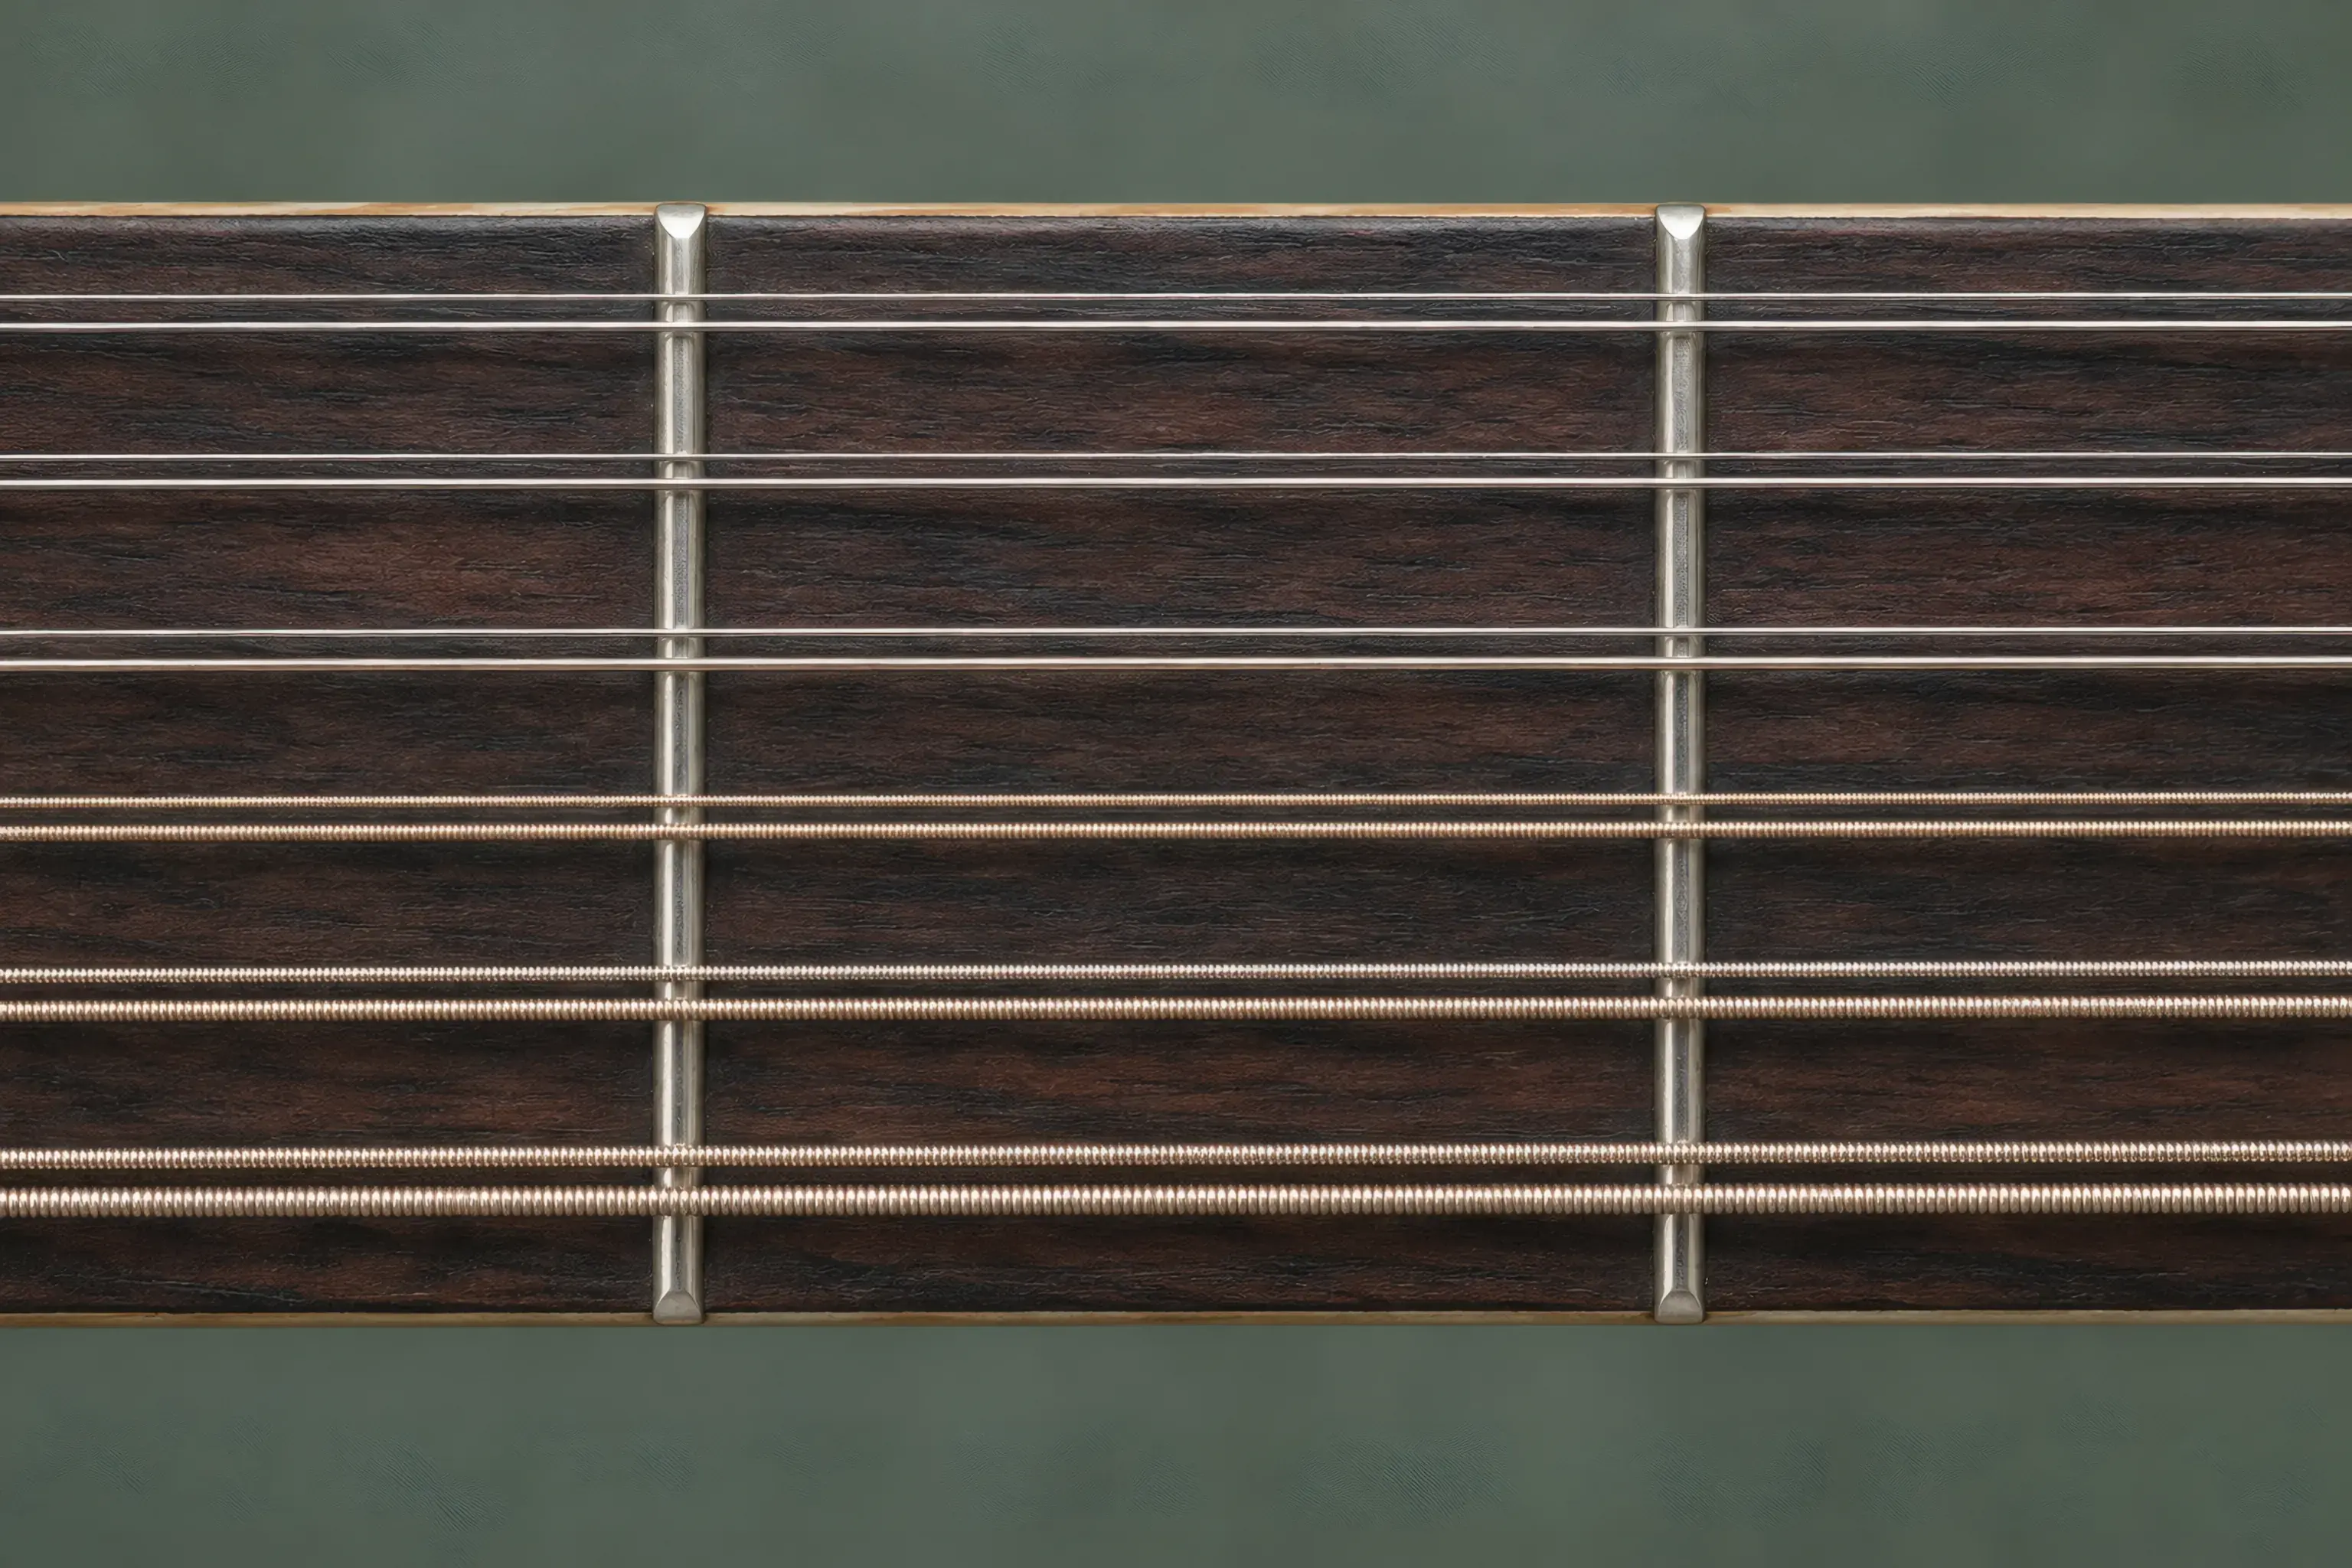
A 12-string guitar has six courses instead of six strings. A course is a pair of strings tuned to the same note, or to the same note an octave apart, played together as one.
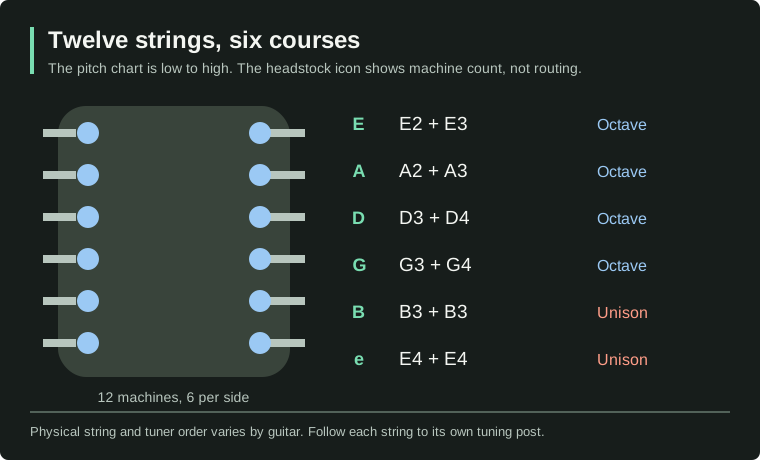
Standard 12-string tuning, from the lowest course to the highest:
- 6th course (E): E2 + E3, octave pair
- 5th course (A): A2 + A3, octave pair
- 4th course (D): D3 + D4, octave pair
- 3rd course (G): G3 + G4, octave pair
- 2nd course (B): B3 + B3, unison pair
- 1st course (E): E4 + E4, unison pair
So the four lowest courses are octave pairs, and the top two courses are two strings at the exact same pitch. That mix is the whole 12-string sound: the octaves add chime and the unisons add shimmer, because no two strings are ever perfectly identical in pitch.
Full pitch chart
| Course (low to high) | Pair type | Main string | Companion string |
|---|---|---|---|
| 6th (E) | Octave | E2 (82.4 Hz) | E3 (164.8 Hz) |
| 5th (A) | Octave | A2 (110.0 Hz) | A3 (220.0 Hz) |
| 4th (D) | Octave | D3 (146.8 Hz) | D4 (293.7 Hz) |
| 3rd (G) | Octave | G3 (196.0 Hz) | G4 (392.0 Hz) |
| 2nd (B) | Unison | B3 (246.9 Hz) | B3 (246.9 Hz) |
| 1st (E) | Unison | E4 (329.6 Hz) | E4 (329.6 Hz) |
The six main strings are exactly the pitches of a regular 6-string guitar in standard tuning. If you can tune a 6-string, you already know half this job.
Which string sits where
Here's a detail that surprises people: on many 12-strings, the thin octave string of each lower course sits physically above its thicker partner, so your pick hits the octave string first on a downstroke. That's part of why a 12-string jangles the way it does.
But it is not universal. Rickenbacker reverses this order: the lower-pitched main string comes first on a downstroke, followed by its octave partner, as explained in Rickenbacker's FAQ. Check your actual instrument and pluck each string of a pair separately to identify its pitch before you start tuning.
Step-by-Step Tuning Guide
Budget ten minutes the first time. The order below keeps tension changes gradual, which matters on a 12-string.
Open the preconfigured 12-string tuner before starting. Its slots list each course's main pitch then its companion: E2/E3, A2/A3, D3/D4, G3/G4, B3/B3, E4/E4. This is a tuning checklist, not a claim about physical string order. Identify the string on your instrument, select its matching note and octave, and mute its partner while tuning. Keep this custom configuration open for all the steps below.
1. Tune the six main strings first
Ignore the companion strings completely. Tune the six main strings to regular 6-string standard pitches:
E2 - A2 - D3 - G3 - B3 - E4
In the custom tuner above, select each main string's target before plucking it. If an octave string rings sympathetically and confuses the mic, touch it lightly with a spare finger to mute it.
2. Tune the octave strings on the four low courses
Now select the matching companion target in the same custom tuner and tune one course at a time. The standard six-string preset does not contain all these octave targets:
- 6th course octave string up to E3
- 5th course octave string up to A3
- 4th course octave string up to D4
- 3rd course octave string up to G4
Tune slowly. These strings are thin and climbing a full octave above the main string. Bring each one up in small turns, and always tune up to pitch. If you overshoot, drop below the note and come back up; that seats the string on the tuner post.
Mute the main string with a fingertip while you tune its octave partner, then strum the pair together and listen. A clean octave sounds like one wide note; a bad one beats and wobbles.
3. Tune the unison pairs
The B and high E courses are two strings at the same pitch: B3/B3 and E4/E4. Tune one, mute it, tune the other, then play them together. Small pitch differences in unison pairs create conspicuous beating, so match both strings carefully to the target pitch. If one is sharp, lower it below the target and approach the correct pitch from below. The doubled strings add shimmer, but that is not a reason to leave them out of tune.
4. Do one full recheck pass
Bringing the companion strings to pitch changes the total load on the neck, top, and bridge, so strings you already tuned may drift. Go back through all six courses, main string then companion, and touch up anything that changed. Repeat until every course holds its target pitch rather than assuming the drift will be in one direction.
Setting up the custom tuner for 12 strings
The standard tuner pages show six strings. For a 12-string session, open the custom tuner; it supports instruments with 1 to 12 strings, so you can build a configuration that matches your guitar course by course.
The preconfigured link above loads all twelve targets. To make its slots follow your instrument's physical playing order, edit the targets course by course using the chart above; remember the octave strings may sit above their partners. Save the configuration locally for later sessions. You can also tap each string slot to hear its reference tone, which is handy when a noisy room makes the mic unreliable.

Tuning Tips and Common Issues
Respect the tension
A 12-string carries close to double the string tension of a 6-string. Two habits protect your guitar and your strings:
- Tune in small turns. Never crank a thin octave string up to pitch in one motion.
- Consider tuning down. Many players keep a 12-string tuned down a half step (Eb) or a whole step (D) full-time to ease neck strain, and capo up when they need standard pitch. Older acoustics especially appreciate this.
If your guitar seems to fight you every session (sharp after one song, or drift you can't explain), the causes are usually mechanical, not musical. The checklist in why your guitar won't stay in tune applies double on a 12-string.
Stretch new strings
Fresh strings are the number one cause of a 12-string that won't hold pitch. After restringing, tune up, then gently pull each string away from the fretboard a few times along its length, and retune. Expect two or three stretch-and-retune rounds before things settle. Twelve strings means twelve settling strings; be patient.
Why 12-strings drift faster
Simple math: double the strings means double the tension changes hitting the neck, the nut, and the bridge. Temperature swings that nudge a 6-string a few cents can push a 12-string noticeably out. Tune before every session, not just when it sounds bad, and check the unison pairs first; they're what your ear notices.
Intonation matters twice as much
With octave pairs, a slightly off bridge saddle makes the main string and its octave disagree more and more as you climb the neck. Check the 12th-fret harmonic against the 12th-fret fretted note on each string of a course. If they don't match, the saddle needs adjusting; on most 12-string acoustics that's a compensated saddle or a tech job. The full method is in our guitar intonation guide.
Use the right strings
Buy a set made for 12-string guitar. A typical light acoustic set runs about .010–.047 on the main strings, with much thinner octave companions; the high octave G is often a plain .008. Mixing a normal 6-string set with random spare strings gets the gauges wrong and makes tuning miserable.
Alternative 12-String Tunings
Once standard tuning feels routine, these are worth exploring. Retune slowly, and prefer dropping pitch over raising it.
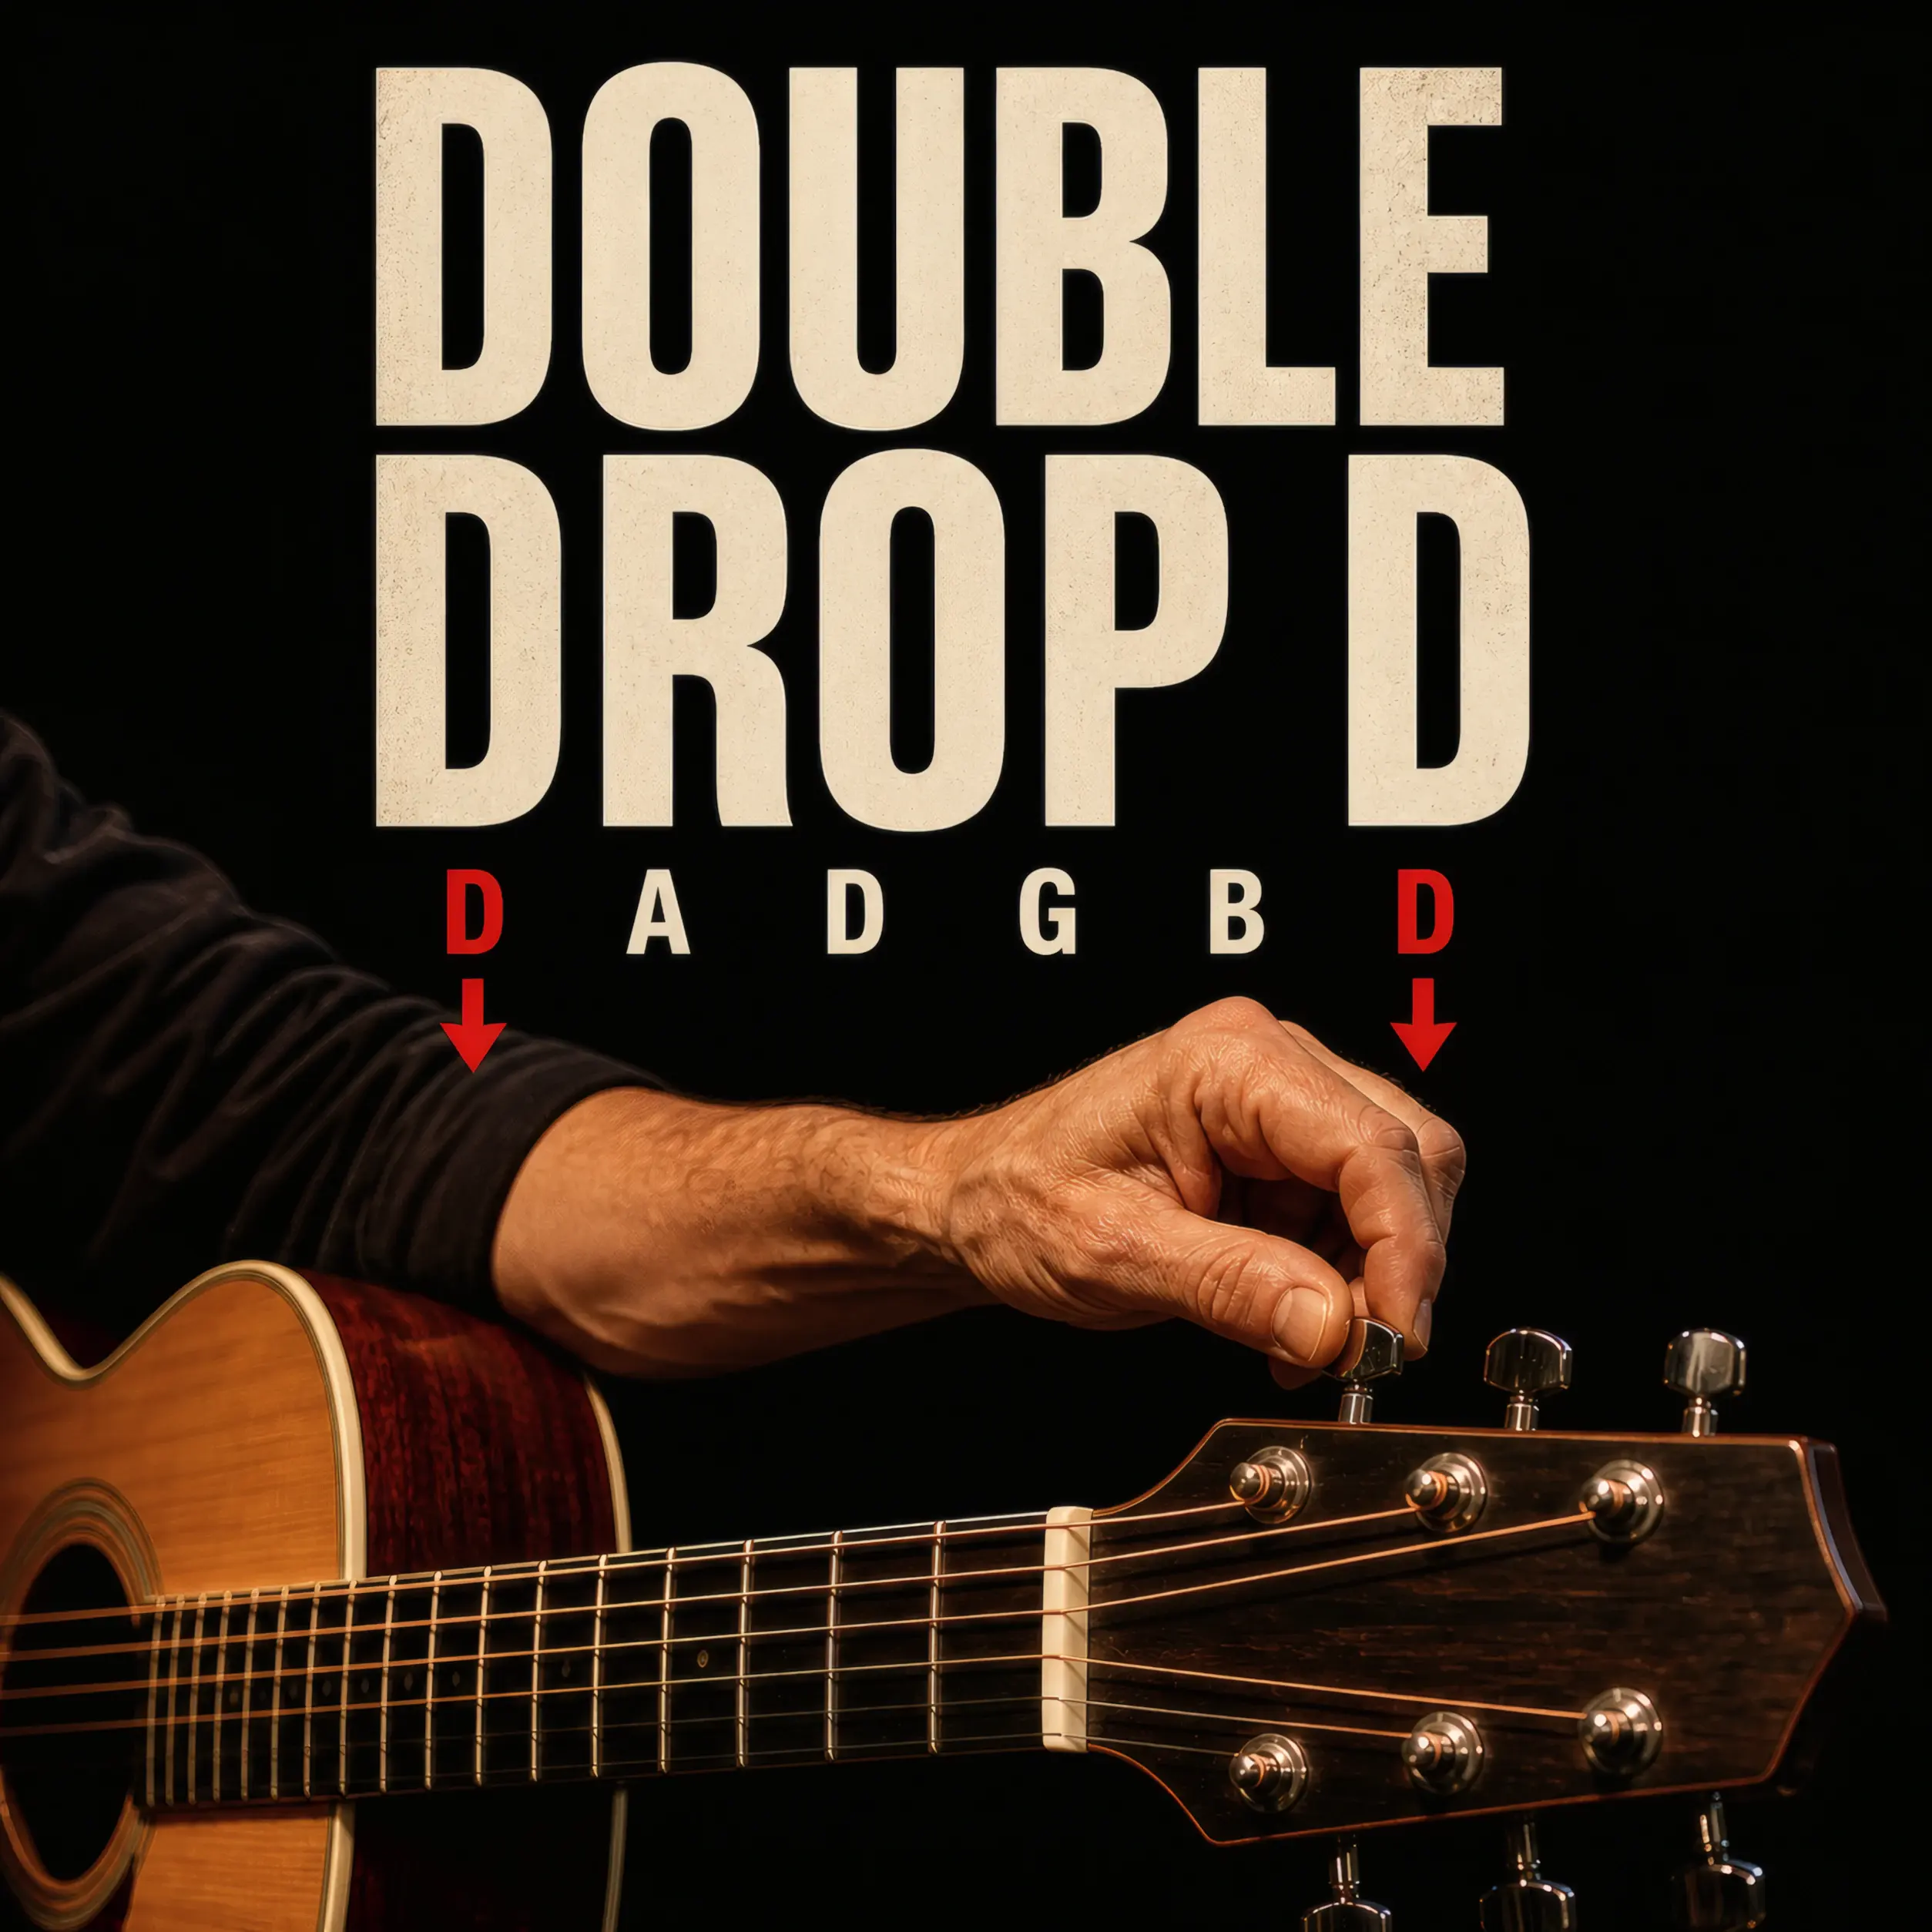
Drop D style
Take the 6th course down a whole step, so both strings land on D: D2 + D3. You get a huge low end under otherwise standard tuning, great for drone-y strumming in D and G. The concept is the same as Drop D on a 6-string, just applied to a course instead of a single string.
Open tunings for slide
Open G and Open D translate beautifully to 12-string; strumming open gives you a full, chorus-drenched chord. The idea: retune the courses so the six main strings spell the open chord, then move the octave strings to match. Start with the Open G tuner to learn the pitch targets, and the Open G tuning guide for the step-by-step logic. Fair warning: some open tunings raise certain strings, and on a 12-string that's extra tension on an already loaded neck. Go down a half step first if you want a safety margin.
Half or whole step down
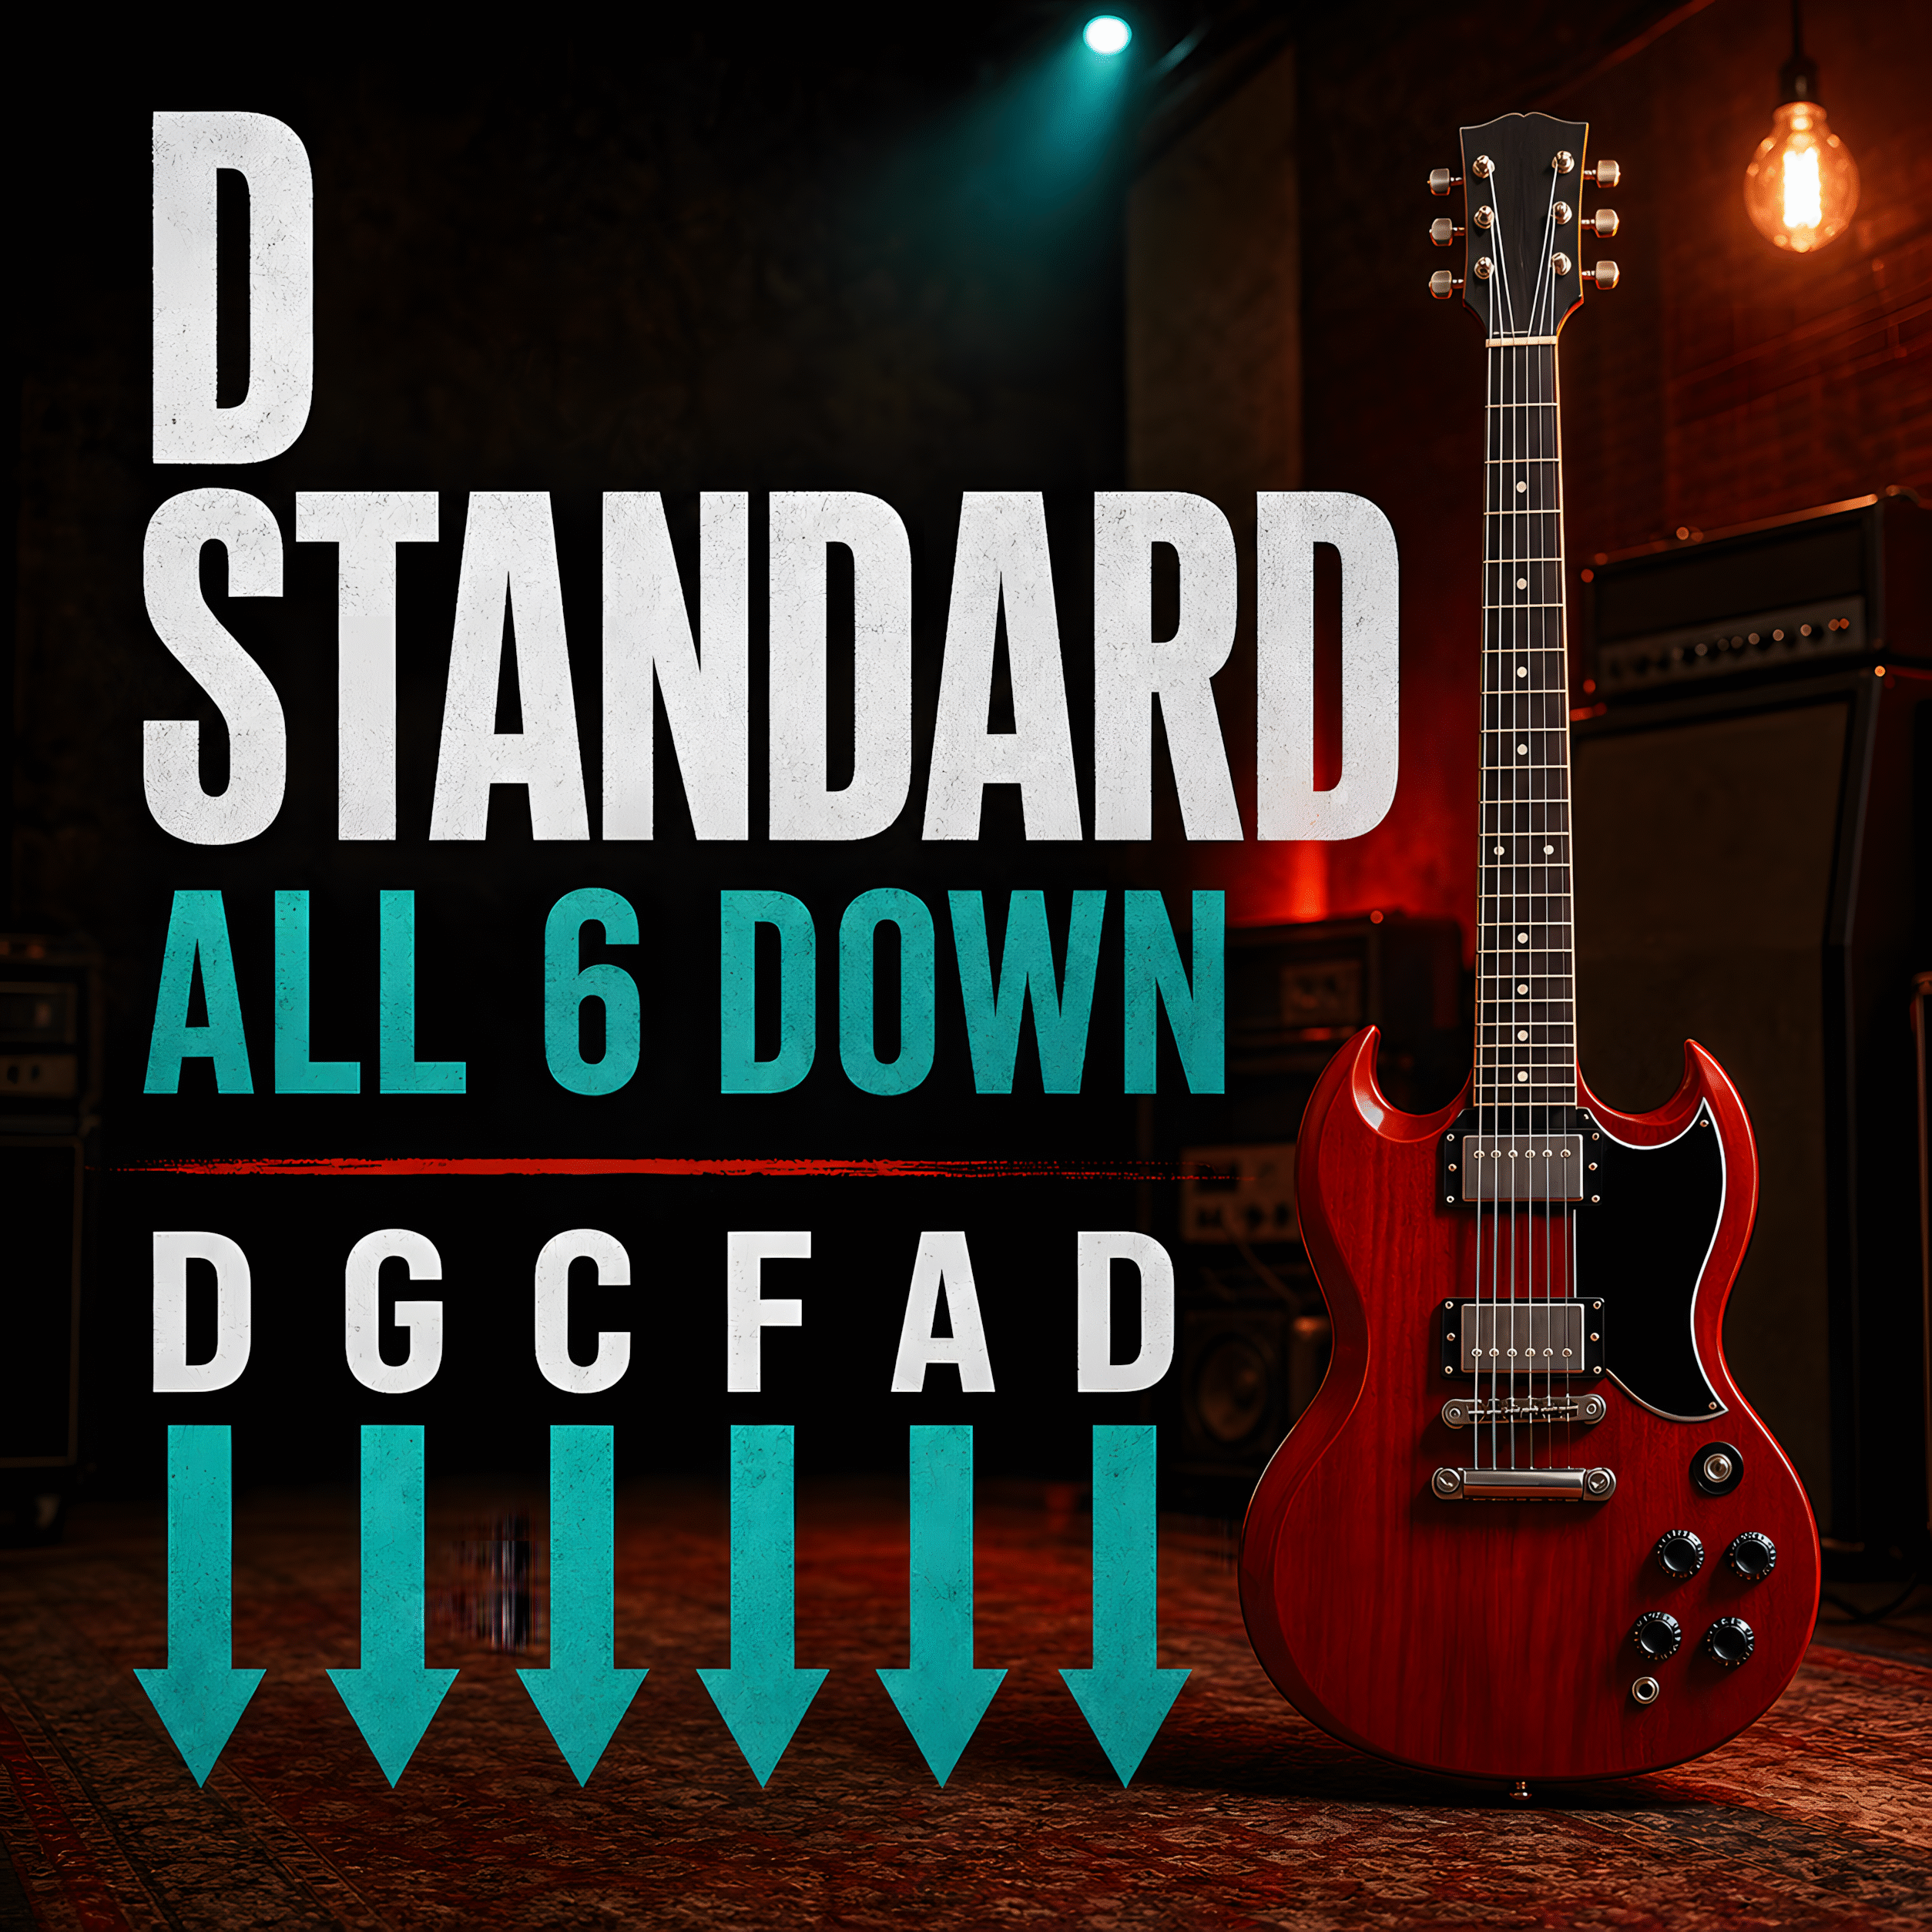
Not a flavor choice so much as a maintenance one. Eb standard (every course down one semitone: Eb2/Eb3, Ab2/Ab3, Db3/Db4, Gb3/Gb4, Bb3/Bb3, Eb4/Eb4) or D standard (down a whole step) noticeably relaxes the neck and makes the strings easier to fret. Pair it with a capo at fret 1 or 2 and you lose nothing. More on the logic in Eb standard tuning.
Practice Exercises
1. Strum G – C – D and just listen
Play a plain G, C, and D with big, slow strums. Don't change anything; just listen to how the octave strings ring over each chord. Notice how the octave G in the 3rd course chimes above the chord shape. This is the sound you're tuning for, so learning to hear it teaches you to hear when one string is off.
2. A simple fingerpicking pattern
Hold a G chord and pick this pattern, one string of each course at a time if you can, or both together:
e|-------0-------0---------| high E course
B|-----0---0---0---0-------| B course
G|---0-------0-------0-----| G course
D|-------------------------|
A|-------------------------|
E|-3-----------------------| thumb: 3rd fret, low E course
Thumb hits the low G on beat one, fingers roll through G, B, and high E courses. Eight slow repetitions with the metronome at 60 BPM. Fingerpicking a 12-string exposes tuning flaws fast; a mistuned octave has nowhere to hide.
3. Same progression, two guitars
Play G – C – D on a 6-string, then the same progression on the 12-string, same tempo and same dynamics. Back to back, you'll hear exactly what the octave and unison strings add: width on the low end, glass on the top. If you only own the 12, mute the companion strings with a cloth woven through them for a rough 6-string comparison.
Hear the difference
Your assignment: record thirty seconds of G – C – D on your phone. If you have access to both a 6-string and a 12-string, record both. Listen back for three things:
- Width: the 12-string should sound like two guitars playing slightly apart.
- Shimmer: a chorus-like movement on sustained chords, from the unison pairs.
- Octave bloom: a high, bell-like echo over the low strings, from the octave pairs.
If your 12-string recording sounds muddy instead of wide, one course is almost certainly out of tune. Recheck it with the tuner and record again.
FAQ
Is 12-string tuning the same as 6-string?
The six main strings are identical to standard 6-string tuning: E2 A2 D3 G3 B3 E4. What's different is that each string has a partner: an octave higher on the four lowest courses, and the same pitch on the top two. If you know 6-string standard tuning, you know the foundation of 12-string guitar standard tuning.
Why are some strings tuned in octaves?
Physics and practicality. Doubling the low strings at the same pitch would just make them louder and muddier. Tuning the partner an octave up keeps the low end clear while adding brightness and sustain. On the top two courses, where an octave up would demand impossibly thin, tense strings, the pairs are tuned in unison instead, and the tiny pitch differences between them create the shimmer.
Can I use regular strings on a 12-string?
Not a regular 6-string set alone; you'd be missing the six companion strings, and random spares won't have the right gauges. The octave strings need to be much thinner than their partners to reach pitch safely. Buy a dedicated 12-string set for your guitar (acoustic and electric sets are not interchangeable) and replace all twelve at once.
Tune it, then play the big chords
Open the tuner, run the six main strings, then the companions, then one recheck pass. That's the whole ritual.
Once it's holding pitch, grab a capo and try the same course-by-course thinking in a new key; our guitar capo chart shows exactly where to clamp for each one.